I really get excited about mixing up amazing colours of paint! It doesn’t matter where I teach, there is a limited number of pure hues (hmmm…don’t know about my use of singular/plural there) sitting in bottles on the storage room shelves. But with NO FEAR and a little bit of time (10 minutes), I can change those six colours into an endless selection and SO CAN YOU!
Today, I used 17 yogurt containers (the large size). I moved my desks, to create five pods of four students (class of 20). So, to begin, I wanted five pots of white tempera and 12 pots of various tints of blue/turquoise/purple and such. When I say tints and shades…do you know what I’m saying? This is where art teachers sometimes diminish the possibilities for awesomeness in painting experiences. Tints are created when we add a hue (pure colour off of the shelf in your art storage room) to white. Mix new colours (in this case, tints) by throwing in a little-of-this and a little-of-that into about a half cup of white, poured into the bottom of all 17 containers. If you add white to the hue, you might get way more than you bargained for. Today, I used Violet, Blue, Turquoise and combinations of those to create my 12 colour choices.


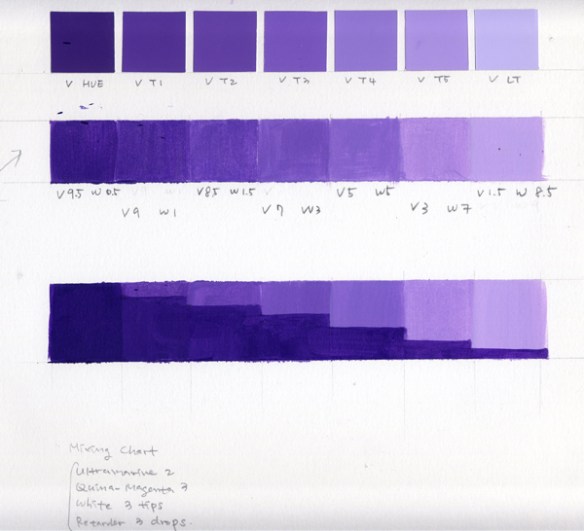
 The notes above are just some swatches that I collected off the internet to illustrate some possible mixed colours…not what I did today! Goodness!
The palette (the 17 buckets) was placed on a side table with easy access and good traffic paths.
I always place two brushes in each bucket, later reminding students not to take those brushes out of that particular bucket, but rather, return the bucket to the paint center and choose the next colour. This is like working off a palette. Students make choices with one other person and have to commit to using the colour until both people agree that they are finished. I dunno…call me hyper organized…but this way, you can have a whole class of students sharing a beautiful colour palette in a manageable way, leaving clean-up realistic as well. If I had my very own class, I would place all of the buckets, at the end of the day, into a large plastic storage container, with lid on, just taking the time to clean brushes. The paint keeps for up to two weeks this way and students can work on painting when their other work is done.
First…reflection and depiction. A conversation took place about snow flakes. You can show on-line video, images; there are even books written about the topic. It can be as simple as asking the students if they know how many points are on a snowflake? Six! Hmmm…this is where things get tricky! It’s easy to draw an eight pointed snow flake! Try it! Not so easy to do six, is it? I’m laughing here. The tendency is to draw four lines directly across a central point…this way they end up even steven. But…try to draw the central point first and then draw six equally spaced lines (radii) around that dot. Time to pull out the scrap paper and to do some drawing. “Do as many different snow flake patterns as you can…then see if you have three that you will want to add to your painting.”
OOPS! How many points does THAT snowflake have?
 “Five more minutes! Okay…everyone! YOO HOOO! Pick out three studies that you like?”
On with paint…so, I always and forever demonstrate the use of the brush and describe it’s parts and how to best use it. Flat…round…turn it sideways. Dip. Wipe. Stroke. Difference between stroke and scrub. I’ll save you that schpeel yet again on my blog. The five buckets of white paint each have four brushes standing in them.
My little demo…
 “Yes…your large snowflake can go right off of the picture plane and be outside of your composition. Do three…do five…oh yeah, sure…do six…it’s okay…yes, I know you did an eight pointed snowflake…it will still make a cool painting. Is that your large snowflake? REALLY?” And the blah blah goes on and on…and yes, I was so busy teaching, I forgot to take photos at this stage.
Then…for the fun stuff. “Go wild on your colours…no, we’re not just colouring the background one colour…we’re capturing wind…blustery wind…pattern…sky…all of it. Have fun with the colour.”
This is what happened…amazing. I like them! Typically, I would prep construction paper by using masking tape along the edges of the back. Just prevents curling, makes the surface a bit more yummy for the students and prevents rips and tears…but, in a crunch, just go for it!
These grade fours tolerated a lot of side-coaching today and they are angels because they kept the dance in their step throughout and managed to pull this off in one hour and thirty minutes…they had their desks/hands clean and had their library books tucked under their arms in time to head for library. I am really proud of them. I hope you teachers will mix yourselves up some colour and try. You can accomplish this in three shorter class periods. Thank you, Grade Four! The fact that I’m not featuring all of them is a fact of my out of focus photography, not due to deficiencies in their amazing work.


